Control Resonant: The Artist Boss Fight Strategy & Attack Patterns
The Artist is the prologue boss of Control Resonant, encountered at the Panopticon transit vestibule. In Phase 1 (100% to 60% HP), dodge diagonally through his 3-wave pigment slashes to punish his back with the Glaive form. In Phase 2 (60% to 0% HP), watch for the red ceiling shadow when he ascends, sprint in an arc to avoid the aerial drop slam, and channel the Drill form to break his 600-point Falter gauge for the final Execution.
Executive Overview: The Panopticon Gatekeeper
Encountered at the conclusion of the Orientation prologue inside the reality transit vestibule, The Artist represents the first major mechanical skill-check in Control Resonant. Formerly an esteemed Bureau researcher specializing in Altered Objects, this corrupted entity wields twin scythes coated in volatile paranatural pigment that warps the local spatial fabric. Defeating The Artist is mandatory to collapse the perimeter quarantine shield and breach the surface into open-world Manhattan.
Quick Answer: Maintain mid-range spacing during Phase 1. When The Artist raises both scythes overhead, wait for the sharp violin audio sting and the red eye glint, then dodge forward-right to end up directly behind his model. Punish his recovery with Glaive heavy sweeps. When he ascends into the ceiling struts at 60% HP, sprint in a wide circle around the arena until his drop slam embeds his scythes in the floor, exposing his spine for a full Drill posture-shredder.
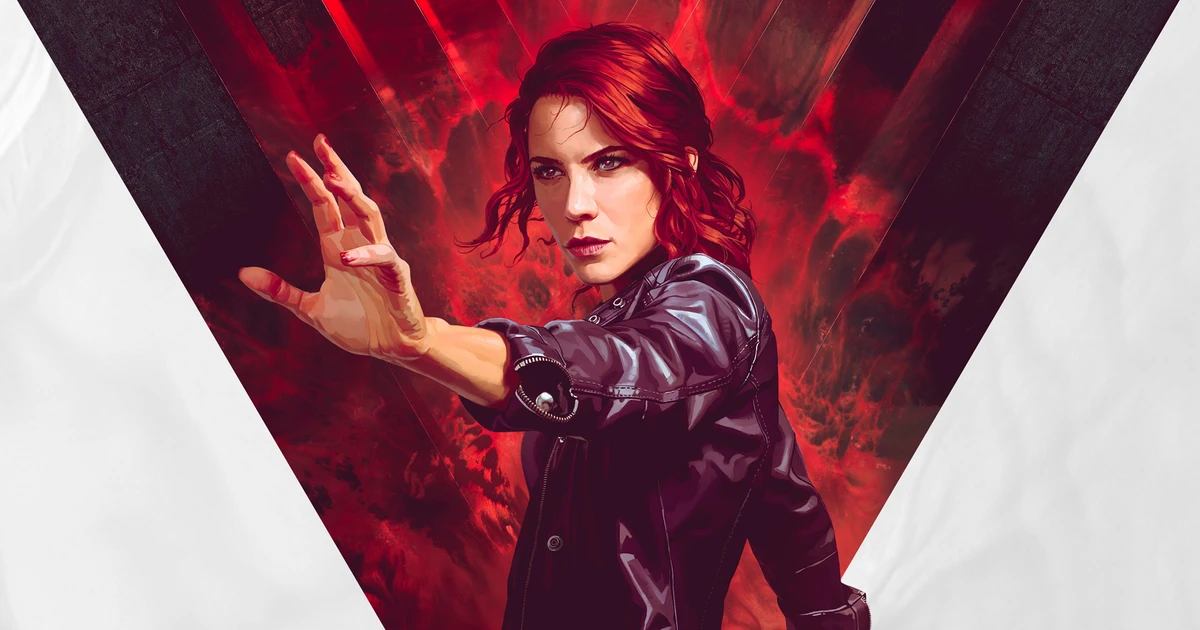
Boss Statistics & Arena Layout
The battle takes place in a circular 35-meter Panopticon Transit Vestibule bordered by reinforced blast walls and four concrete structural pillars that can be utilized to block ranged pigment waves.
The Artist Encounter Parametrics:
Total Health Pool:       8,500 HP
Posture / Falter Cap:    600 Points
Phase 1 Boundary:        100% down to 60% HP
Phase 2 Transition:      60% down to 0% HP
Arena Hazards:           Exposed gravity well in center (Phase 2), Detonating pigment pools
Guaranteed Drop Rewards: The Artist's Resonant Brush Catalyst, 25 Refined Living Shards
Phase 1: Ground Combat & Telegraph Analysis (100% - 60% HP)
During Phase 1, The Artist remains grounded, alternating between long-range horizontal pigment projectiles and lunging scythe sweeps.
| Attack Name | Visual & Audio Telegraph Cue | Dodge Timing Window | Optimal Counter-Attack Window |
|---|---|---|---|
| Triple Pigment Wave | Backflips 8 meters; scythe blades ignite with glowing violet flame | Dodge left on Wave 1 (300ms), right on Wave 2 (600ms), forward-through Wave 3 (900ms) | The Artist pauses for 2.2 seconds. Dash in with Strike; land 4 light attacks (+35% Power). |
| Overhead Canvas Cleave | Raises both scythes vertically; high-pitched violin string screech | Red flash above head; dodge diagonally forward-right at frame 400ms | Scythes stick in floor for 1.8 seconds. Execute a full Glaive heavy sweep (80 Falter). |
| 360-Degree Brush Sweep | Crouches low to the ground; spins scythe blades in a low circle | Double-dash backward outside the 7-meter sweep radius | Switch to Extend secondary whip; lash from 12 meters to chip posture safely. |
| Stalker Phase-Dash | Dissolves into violet mist; reappears 1 meter behind Dylan | Audio whoosh behind camera; instantaneous forward roll | 1.0-second punish window; single heavy strike. |
Tactical Protocol for Phase 1
- Never Back Yourself into the Outer Perimeter: The circular arena walls limit your backward evasion. Circle around the outer edge of the central floor medallion, keeping at least 5 meters of open space behind Dylan.
- Punishing the Canvas Cleave: The Canvas Cleave is The Artist's most dangerous ground attack (dealing 65% of Dylan's base health), but it offers his longest recovery vulnerability. Do not roll backward; roll diagonally forward through the descending blades to end up at his back.
Phase 2: Aerial Assault & Gravity Collapse (60% - 0% HP)
At exactly 60% health, a scripted cutscene triggers: The Artist stabs both scythes into the center of the arena floor, shattering the tiles into floating rubble and creating a central Gravity Anomaly Well. Touching this well inflicts continuous resonance bleed and slows movement speed by 40%.
New Phase 2 Mechanics
1. The Ceiling Drop Slam
The Artist dissolves into crimson mist, vanishing completely from the arena floor and perching on the overhead gantry.
- Telegraph: A bright circular red targeting reticle appears on the ground beneath Dylan's feet, expanding outward for 2.4 seconds.
- Evacuation Protocol: Do not dodge immediately. Sprint in a wide circular arc along the arena perimeter. When the red reticle stops tracking your position and pulses brightly (at 2.0 seconds), execute a slide-dodge.
- The Punishment Window: The Artist impacts the floor with colossal force, triggering a 5-meter shockwave. He remains completely immobilized with his scythes buried in the masonry for 3.5 seconds.
- Action: Sprint in and activate your Drill Secondary Form (or heavy Cleave). A full 2.5-second Drill channel delivers over 210 Falter damage, pushing him directly into staggering territory.
2. The Pigment Minefield
The Artist flings six pulsating globes of viscous violet paint across the surviving floor tiles.
- Behavior: The mines pulse for 4 seconds before detonating in a chained cross-shaped explosion.
- Counter: Do not roll through the mines. Stand on the elevated concrete rubble slabs along the perimeter or use the Extend whip to detonate them remotely from safe range.
3. Summoning the Doppelgängers
At 30% health, The Artist splits into three identical figures.
- Identification: The real boss possesses the yellow Falter gauge above his head. The two clones possess merely 1 HP each.
- Resolution: Execute a single 270-degree Glaive light attack. The wide arc sweeps across the arena, vaporizing both clones instantly and refunding full stamina.
Stagger Break & The Cinematic Execution
Once you inflict 600 cumulative points of posture damage, The Artist collapses onto one knee, enveloped in crimson Bureau energy runes.
- Sprint forward into melee proximity.
- Press [Interact / Melee] to trigger the final Execution sequence.
- Dylan morphs the Aberrant into twin executioner blades, severing The Artist's pigment scythes in a dynamic cinematic takedown.
- The quarantine ward shatters, opening the transit gate onto 34th Street in Manhattan.
Boss Combat Anti-Patterns & Common Blunders
- Attempting to Block Pigment Projectiles: Paranatural pigment carries dark matter splash damage that pierces standard block guards. All pigment waves must be physically dodged or absorbed via an active Paranatural Shield.
- Falling into the Central Gravity Well: Dodging carelessly during Phase 2 often causes players to roll directly into the fractured center of the arena. Once slowed by the gravity well, avoiding the subsequent Ceiling Drop Slam is impossible.
- Attacking During the 360-Degree Brush Sweep: Trying to trade damage while The Artist is executing his spinning brush attack will result in getting knocked airborne, taking severe damage and losing all accumulated Power.
Frequently Asked Questions
Can I parry The Artist's scythe strikes?
Yes. The initial swing of his melee combo can be parried with a perfectly timed directional dash (within a 120ms window), which stuns him for 1.2 seconds and refunds +25% Power. However, his ranged pigment waves cannot be parried.
What should I do if I am caught in a Pigment Mine explosion?
If you are trapped near a mine as it begins its rapid detonation flash, activate Paranatural Shield immediately. The shield will absorb 100% of the explosive concussive damage, leaving Dylan undamaged.
What rewards do I receive for defeating The Artist?
Upon execution, The Artist drops The Artist's Resonant Brush Catalyst (used to forge the Drill and Extend forms in The Gap) along with 25 Refined Living Shards and the Subway Access Keycard required to enter Manhattan.
To review the full prologue walkthrough leading up to this boss encounter, consult the Orientation Walkthrough Guide. For complete weapon stats and upgrade costs, read our Aberrant Weapons Guide.